This post was written by Hannah Sanders, ATC, certified athletic trainer, Parkview Sports Medicine.
Hip tightness is one of the most common musculoskeletal issues in the physically active population. It can contribute to pain, weakness and instability in the lower body and can become debilitating if not treated properly. The good news is that for many people, hip tightness is easy to address, as there are a variety of exercises you can add into your daily routine for healthier hips and mobility.
Stretching
Most individuals think of stretching as the first thing to try when treating tight muscles, which is a great place to start. However, you need to make sure you are performing the correct stretch for the proper amount of time and repeat it multiple times per week. There are many different stretching techniques to become familiar with, but you can pick and choose the ones that feel best for you and your body.
- Static stretching – This is the most common form of stretching, where you hold a stretch for 30-60 seconds. This option is best utilized as a cool down or for active recovery.
- Dynamic stretching – Stretching that involves active or dynamic movements. Commonly utilized in a warmup.
- PNF stretching (proprioceptive neuromuscular facilitation) – A stretch that involves contracting and relaxing a specific muscle to increase range of motion. Can be done with a partner.
- Ballistic stretching – Stretching to the end range of a movement and adding small bounces with the goal of increasing the stretch. This method is the least effective way to stretch and puts the body at a greater risk of injury. Utilize with caution.
Building a stretch routine for healthy hips
Stretching doesn’t have to be complicated or confusing. With a little bit of exercise science knowledge, you can build an effective routine that works for you.
When outlining a stretching program, always plan it around your workouts. Start with dynamic stretching and end with static and/or PNF stretching. Here are some examples of all three types of stretches you can add into your workouts:
Dynamic (warmup)
Perform 10-15 minutes before a workout. These moves should be focused on getting the body ready for higher levels of activity.
90/90 hip mobility
.jpg)
- Start in the position pictured above left.
- Lift back knee and rotate body to a straddle with knees bent.
- Finish the stretch by rotating to the other 90/90 side.
- Repeat.
Open/close the gate

- Start standing.
- Lift your leg to the front and swing up and over to the side, as if you’re stepping over a gate.
- Repeat on both legs.
- To reverse the exercise or “close the gate,” start with your leg out to the side and lift over and up to the front.
- Repeat on both legs.
Frankenstein
- Step forward with one foot and slowly kick your other leg straight forward, reaching your opposite arm towards your toes.
- Repeat on the opposite side.
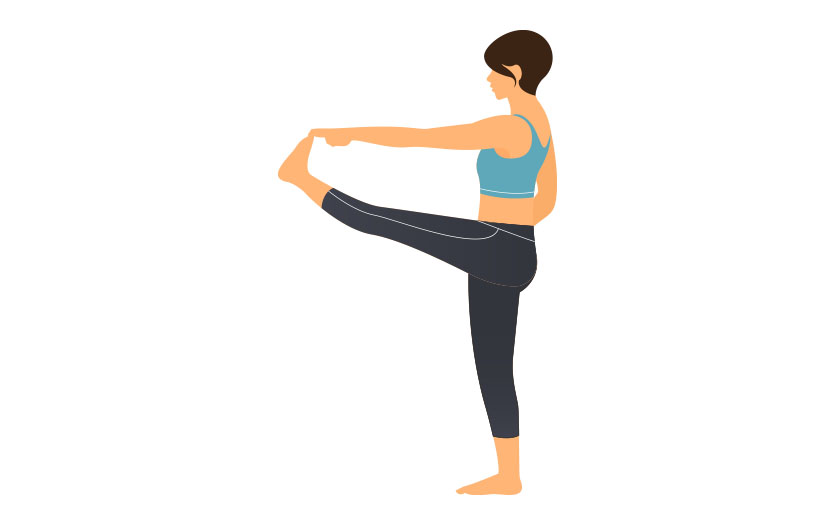
Forward T
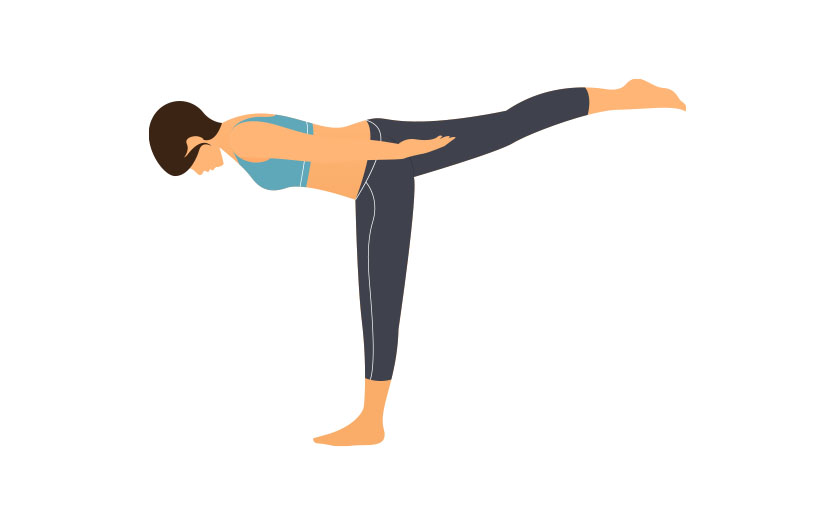
- Balancing on one leg, bend at your hips and slowly tilt your body forward while extending the other leg backward.
- Return to the starting position and repeat.
Static (cool down)
After you’ve completed your workout, hold each stretch for 30-90 seconds and repeat 2-3 times.
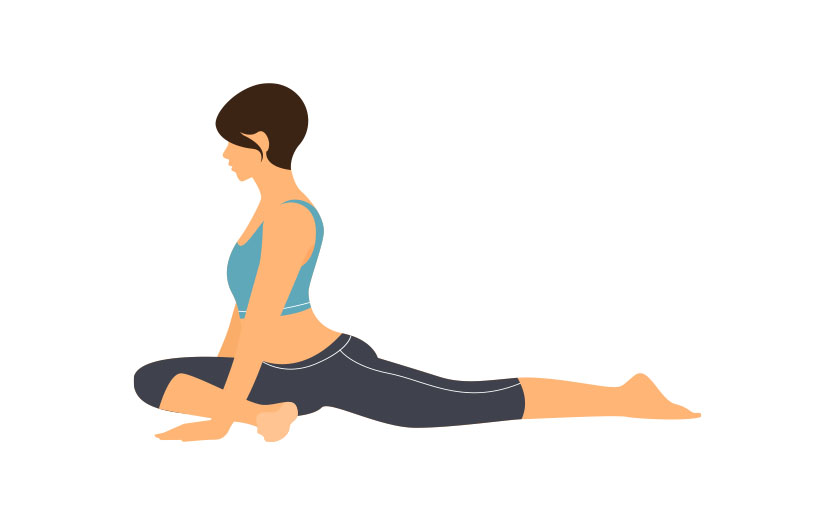
Straddle stretch
- Lean forward, hinging at your hips, until you feel a stretch in the back and inside of your legs.
- Hold this position.
Forward bend
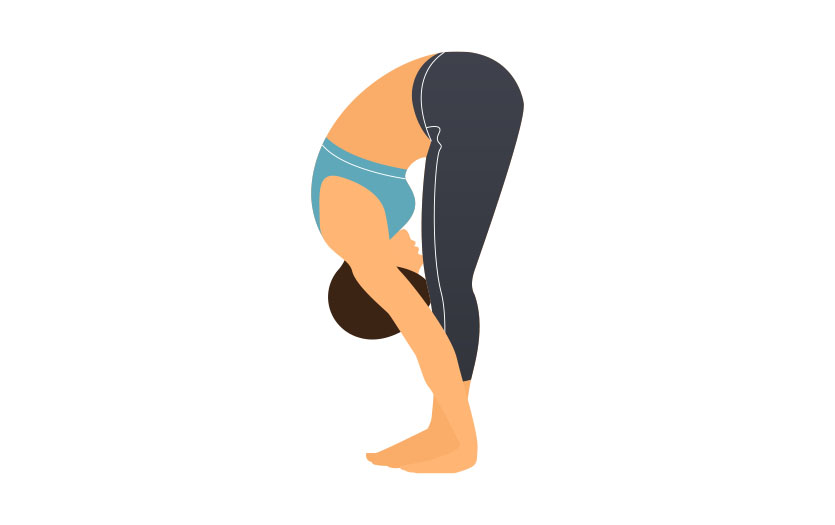
- Fold forward bending your knees.
- Place your hands on either side of your feet with palms flat to the floor.
- Bring your head towards your knees.
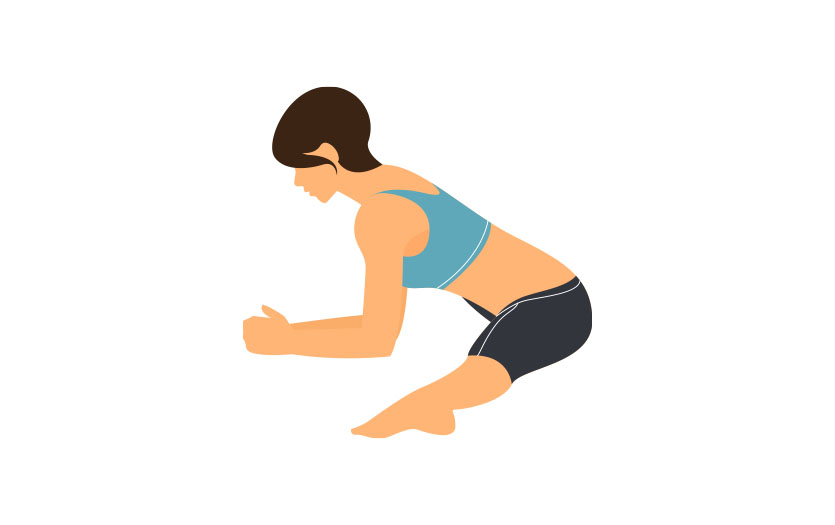
Pigeon pose
- Bending at your hips, lower your chest toward the ground until you feel a gentle stretch in your hip muscles.
- Hold this position.
Half kneeling hip flexor stretch
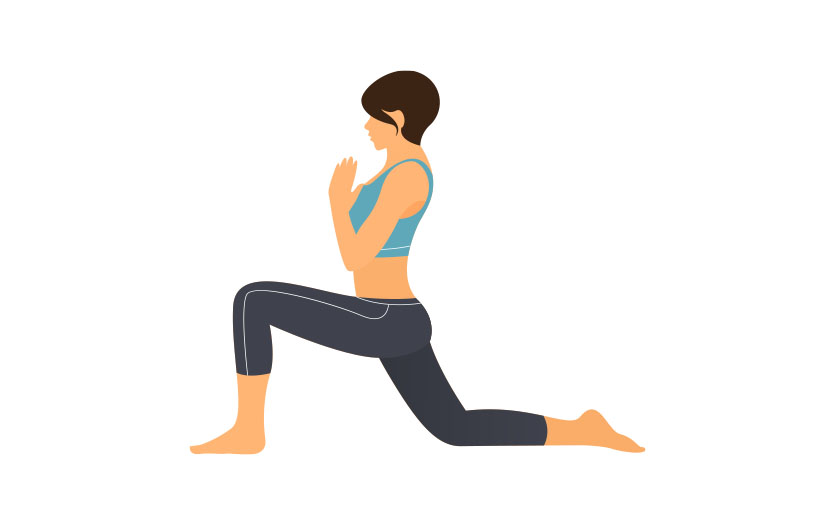
Shift your body and hips forward over your front knee until you feel a stretch in the front of your back hip. Hold this position.
PNF (cool down)
These stretches are easier to perform with a partner or belt tied around a stationary object. The goal is to increase range of motion.
Hamstring
- Begin on your back and pull leg into a hamstring stretch.
- Using a belt or partner, contract your hamstring and push leg into the stretch, activating your muscles for 10 seconds.
- Relax the contraction and gently stretch your leg further.
- Repeat 3-4 times.
Hip adductors
- Begin by sitting in a butterfly stretch.
- Using your hands or a partner, push down on both knees.
- Resist the push with your knees and contract muscles to resist your hands.
- Hold for 10 seconds.
- Relax and gently push knees down into more of a stretch.
- Repeat 3-4 times.
Hip abductors
- Begin by lying on your back and crossing one leg over the other.
- Have a partner add resistance to your top leg and push your knee into their hand.
- Hold for 10 seconds.
- Relax the contraction and stretch your hip further.
- Repeat 3-4 times.
Foam rolling and myofascial release
A few extra tools to use on top of the stretching methods we discussed above, include foam rolling and myofascial release. These do require some equipment but are easy to perform on your own.
Foam rolling involves using a foam roller to reduce muscle tightness. There are a variety of ways to foam roll your hips, but generally you want to focus on hitting all the major muscle groups. Find positioning that works for you so you can roll out your quads, hamstrings, calves, glutes, abductors and adductors. Below are some examples of how to foam roll:
Myofascial release, or trigger point release, is the method of applying direct pressure to a specific area of muscle tightness, or “knots.” You can do this yourself using a massage gun, tennis ball, lacrosse ball or massage peanut. You can rally the help of another person that can use their fingers, elbow or hand to apply pressure to a muscle knot. The goal is to apply enough pressure to feel intense discomfort for 30-60 seconds. Once you release pressure, you should feel the muscle knot subside.
To learn more about how the experts at Parkview Sports Medicine can support you on your fitness journey, visit parkview.com/sportsmedicine