This post was written by Kristen Canan, greenhouse assistant, Parkview Community Greenhouse.
Starting garden seeds indoors is a great way to get a head start on your summer garden. By following a few simple steps, you can bring a little spring into your home despite the cold, dreary weather outside.
What to grow and when
Believe it or not, you can sow many types of popular garden vegetables indoors. Tomatoes, peppers, cucumbers, squash, okra, eggplant and melons are excellent choices. However, seedlings such as melons, squash, and cucumbers do not transplant well, so be sure to seed them in individual pots, which will give them more room to grow. Once you’ve decided what to plant, you’ll want to refer to the back of the seed packet for when to plant your chosen vegetables (or flowers) outdoors, then count backward to determine when to start sowing your seeds indoors.
What you’ll need
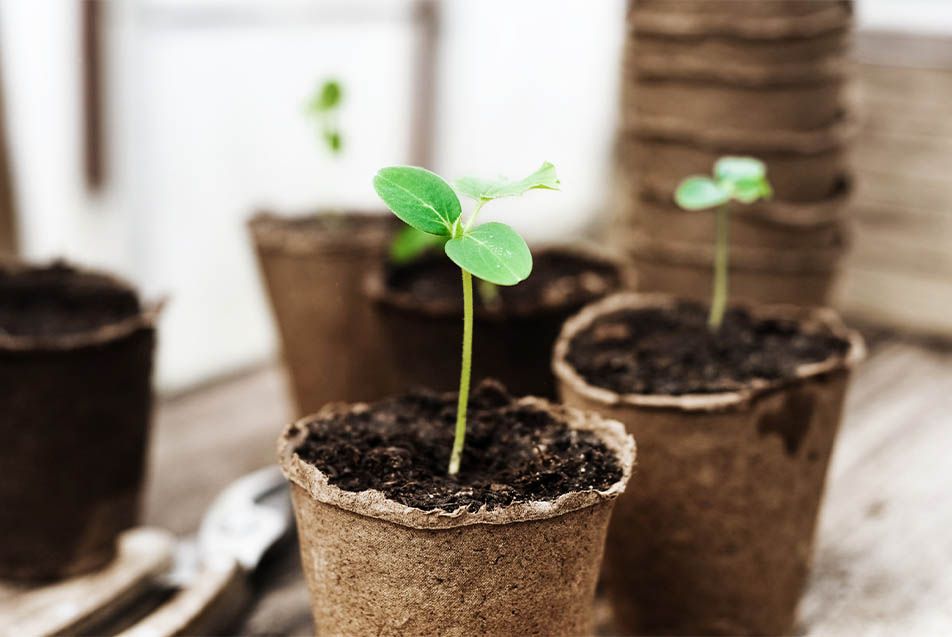
To start your seeds indoors, you’ll need a container and a medium to plant them in, such as a pressed peat pellet or seed starting mix. You can find seed starting containers or flats at your local garden or home improvement store. To hold your seedlings, you can also reuse food containers, such as yogurt cups or egg cartons. Simply poke a hole in the bottom for drainage.
Additionally, grow lights, and heat mats are optional when starting seedlings indoors. They can be purchased online or at your local garden store. Shop lights or bulbs may be cheaper than grow lights and can be used if the intensity (lumens) and color (Kelvins) of light are within the range that plants need, 1500-3000 lumens and 4500-6500 Kelvins. But if you don’t have lights, you can place your seedlings in a sunny window (south-facing, if possible), then rotate the container every few days to ensure an even cast of light. Also, to speed up germination, try using a humidity dome or covering the container with a plastic bag. Once the seeds have sprouted, remove them.
Planting and care
You will want to wet your peat pellets or fill your containers with seed starting mix and tamp it down. Follow the directions on the back of your seed packet to determine how deep to plant each seed. Most seeds need darkness to germinate, so you will want to cover your seeds with a light layer of starting mix or vermiculite. Then, you can water the seeds with a spray bottle or by filling the bottom of the container tray or saucer with water. As soon as your seeds sprout, place your seedlings under your chosen light source and water when the top layer of soil or media gets dry. You will also want to fertilize your plants once they have developed their first set of true leaves. You can accomplish this by using all-purpose plant food. However, you will need to cut the fertilizer rate in half for the first few applications to avoid burning the young seedlings. Also, once your seedlings develop their first set of true leaves, you will need to thin them. Avoid disturbing the roots by cutting the stems instead of pulling. At this stage, your seedlings can now get transplanted into larger containers. Just make sure to give them a drink of water after disturbing them.
Moving your plants outside
Before moving your plants outside, it’s important to note that frost can damage many fruits and vegetables, so it’s best to hold off on transplanting your seedlings outdoors until the last danger of frost has passed. Also, you will want to give your plants time to acclimate to outdoor weather at least 1-2 weeks before transplanting them to the garden. Start by placing plants outdoors in a shady location, then slowly move your plants to a sunnier location over a few days. After this process, they are ready to be transferred to your garden.
Helpful resources
For some helpful hints or to learn more about preparing your garden, please visit:
Tips on preparing your garden for the season


